Tencent Translator
INFO
The documentation content may be outdated. Please refer to the official Tencent Cloud Platform website for the most up-to-date information.
Pricing
The first 5 million characters per month are free. Beyond that, charges are 58 yuan per million characters. The fees are charged by Tencent Translation on their own Tencent Cloud official website and are unrelated to Saladict.
Since the paid version is billed monthly, this means that even if you've used up your free quota within a calendar month, Tencent Cloud will continue charging until the settlement at the beginning of the next month. Therefore, please closely monitor your monthly usage. If you want to be notified when Tencent Cloud makes monthly charges, it's recommended to top up 1 yuan in Tencent Cloud's billing center and set a cost alert for 1 yuan, so you'll receive notifications when monthly charges occur.
Application Steps
Step 1: Complete Personal Verification
Before using Tencent Cloud Machine Translation, you need to complete personal verification. Users who have already been verified can skip this step.
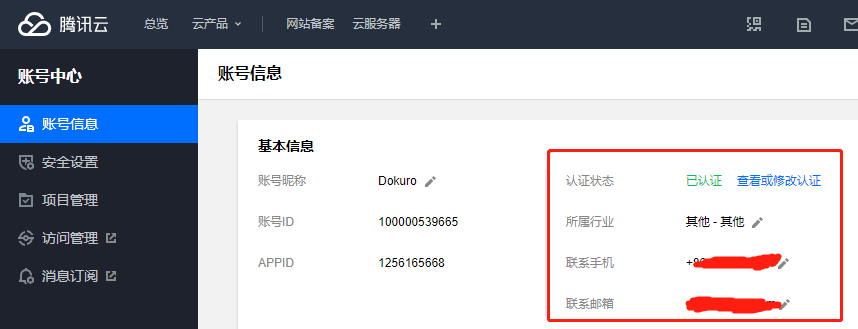
Open the Tencent Cloud website and log in. After logging in, hover your mouse over the avatar in the top right corner and select [Account Information] to complete personal verification.

Since I've already been verified, I can't continue capturing the verification steps. The general process is that you'll be asked to choose a verification type - select [Personal Verification], then fill in your personal information as required.
Step 2: Activate Tencent Cloud Machine Translation Service
Open the Tencent Cloud Machine Translation service introduction and click the [Use Now] button. After logging in, you'll enter the Tencent Machine Translation service console.
On first entry, you'll be asked to choose between the paid version or trial version, as shown below:

Since April 28, 2022, Tencent Translator no longer offers the [Free Trial] option, so currently you can and must choose [Activate Paid Version].
Step 3: Create Access Keys
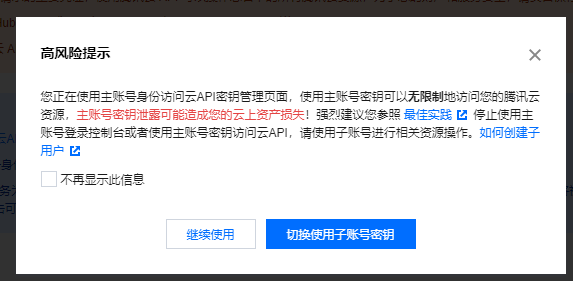
After activation, hover your mouse over the avatar in the top right corner of the webpage, then select Access Management, then select Access Keys - API Key Management in the left menu. You'll see a popup prompt:

Simply put, the keys created here can access all Tencent Cloud resources in your account. For safety, it's better to create a sub-account, assign only machine translation service permissions to this sub-account, and then create keys using the sub-account, which is more secure.
Create keys using the main account (More convenient but less secure)
Select [Continue to use], then click the [Create New Key] button, and new keys will be added to the table, as shown below: 
Create keys using a sub-account (More secure but more steps)
Select [Switch to sub-account key], you'll be redirected to the new user creation page. Choose custom creation, and there are four steps.
Step 1: Choose Type
Select [Can access resources and receive messages], then click [Next].
Step 2: Fill in User Information
Set user information: fill in username, remarks as "For Saladict - Tencent Translator use". Access method: check [Programming access]. Message types that can be received: I unchecked all, you can choose based on your needs. Then click [Next].
Step 3: Set User Permissions
Search for "machine translation", check [QcloudTMTFullAccess (Machine Translation (TMT) full read-write access permission)], then click [Next].
Step 4: Review Information
For this step, just click the [Complete] button, and you'll see this sub-account's [SecretId] and [SecretKey], as shown below: 
Step 4: Enter the Keys in Saladict
Enter the [SecretId] and [SecretKey] you just created into Saladict's [Settings Page] - [Interface Settings] - [Tencent Translator Key ID] and [Tencent Translator Key Value].
Related Links
Tencent Cloud Machine Translation Service Introduction
Tencent Cloud Machine Translation Service Pricing Documentation